In the ongoing battle to keep your bathroom as clean as possible, you may find yourself dealing with a rather tireless enemy – black mould. With mould thriving in warm, humid and poorly ventilated areas, the bathroom is the perfect area for it to develop and spread.
You’re not alone in this fight – approximately 1 in 7 homeowners in London are experiencing a form of damp, mould, or condensation at home.
Being the most humid area of your bathroom, your shower can quickly become a cosy home for mould. From tiles and grouting to the shower curtain itself, the shower area contains many areas where mould can take root.
What’s more, mould can also bring with it some significant health risks, especially for those who or vulnerable or have pre-existing respiratory issues. These include lung irritation, nausea, coughing, and more.
As soon as you first spot the signs of mould establishing itself in your shower, it’s time to take action. Let’s take a look at how to rid yourself of mould, from the tools you’ll need to the steps to take.
Unsure where to begin? Get in touch with our friendly team today here at Mould Removal London to have your questions answered.
Before you begin: Inspecting the area
Prior to going to your local supermarket and arming yourself with thirteen different brands of mould removal spray, it’s important to take a look at the bigger picture.
**You should ONLY attempt to clean the mould if it is isolated to a small, individual patch.**
Attempting to clean a larger area of mould can cause more harm than good. Mould spreads through spores, which are released into the air from mould patches when disturbed. See our article ‘is it safe to clean mould yourself?‘ for more information.
The spores can remain airborne indefinitely and cause significant health implications.
For small, individual patches, you can follow the steps and processes we have detailed below. For anything larger, including multiple patches, we highly recommend getting in touch with your local mould removal service, who will use specialist tools to treat the surfaces and air of the affected area.
Bathroom mould removal: What you’ll need
To begin, you’ll need a few pieces of equipment to keep yourself safe as you clean. These include:
| Safety Equipment | |
Mask | We advise wearing a mask during cleaning as the cleaning process can disturb mould spores. A medical-grade mask is ideal here. |
Gloves | Wear gloves to protect your skin while cleaning. |
As for cleaning materials, you do have the option of purchasing store-bought solutions. However, you may be surprised at just how effective at-home remedies can be. Here is a list of some of the most popular home remedies for removing black mould.
Tools + Cleaning Materials | |
Spray bottle(s) | This is very useful for applying white vinegar or borax solutions. Once you’ve made up these solutions, you can also use them again for other areas of your home. |
White vinegar | A popular household cleaner, white vinegar also acts as a disinfectant. Mix with water to create a diluted solution, or use it on its own for a powerful effect. |
Baking soda | Not only is baking soda great at absorbing odours around the home, but you can also add it to water to create a mould-busting paste. Brush this paste directly onto the mould and leave for 20-25 minutes before wiping it away. |
Borax | Borax can also be mixed with water to create another great solution for tackling mould. Simply spray the solution onto the mould and wipe away – a particularly useful solution for mould on tiles or grout. |
Mould Cleaning 101: 6 steps to remove mould from your shower
- Ensure proper ventilation
Before you begin using any chemicals or solutions, ensure you thoroughly ventilate the area and keep it ventilated while you clean. When mould spores are disturbed during cleaning, a well-ventilated area will help to disperse them. You can open your bathroom windows and turn your bathroom extraction fan on.
- Spot-check the area before cleaning
This is especially important when using store-bought chemicals, but make sure to spot-check the solutions you will use first, in case they react negatively with your bathroom’s surfaces.
- Apply your chosen solution
Wearing a mask and gloves, it’s time to tackle the affected area. If you are opting for using natural cleaning materials, first use the baking soda solution on the mould. This will not only directly attack the mould but also absorb the moisture that accelerates mould growth.
After 20-25 minutes, wipe the area clean with a damp cloth before using your white vinegar or borax solution to effectively disinfect the area. Vinegar is a particularly effective natural solution that helps to remove the remaining mould.
- Check the shower curtain if you have one
If you use a shower curtain, then chances are it will require a thorough clean to avoid it being ruined by mould. To clean it, follow these steps:
- Remove the shower curtain and place it in the washing machine. It’s a good idea to add a couple of towels as well, which will help to prevent creasing.
- Add about 150 grams of baking soda with your regular washing detergent in the washing machine.
- Run the machine. As your washing machine reaches its rinse stage, pause the cycle and add about 150ml of white vinegar. Continue the cycle.
- Once the cycle is finished, hang the curtain out to dry.
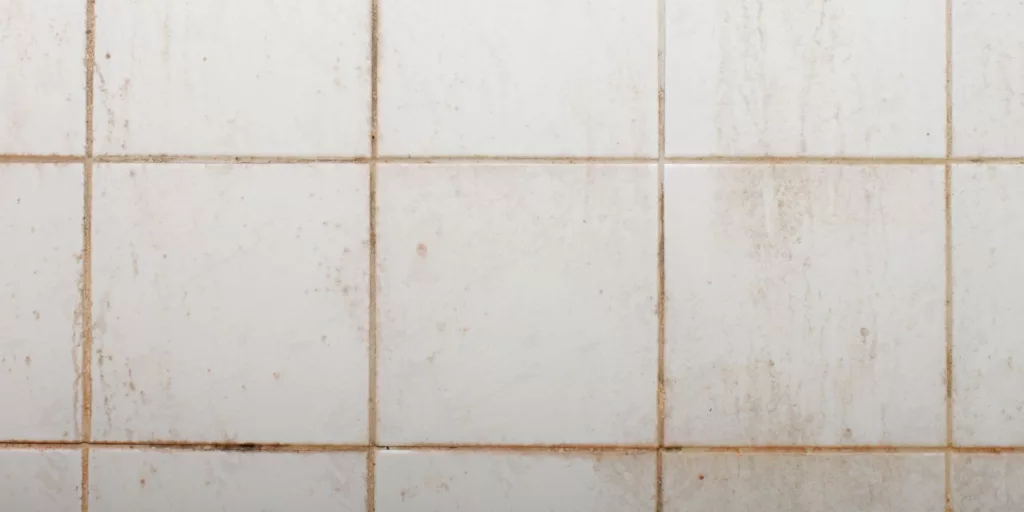
- Double-check tiles and grout
Tiles and grout can form the perfect hiding space for mould, with these areas easily being overlooked. You can clean these areas in much the same way you can clean the other parts of your shower, however we recommend using the borax solution in this case, as it works well in these areas.
- Keep the area ventilated
Once you’ve finished with the cleaning, keep the windows and ventilation spots open for a while to allow any odours (and airborne mould spores) to disperse.
Summing up:
Your shower, and the area around it, can be a prime location for mould growth – thanks to a potent combination of heat and humidity. Regular cleaning can, however, help to keep smaller patches of mould at bay.
It’s worth noting that, without a complete air treatment, mould spores will most likely remain in the affected area, only to re-establish themselves again later. This creates a constant cycle of cleaning and mould re-growth. Here at Mould Removal London, we offer a free air treatment with every service – get in touch with a member of our friendly team on 0203 130 4068 or via email at [email protected] to learn more.